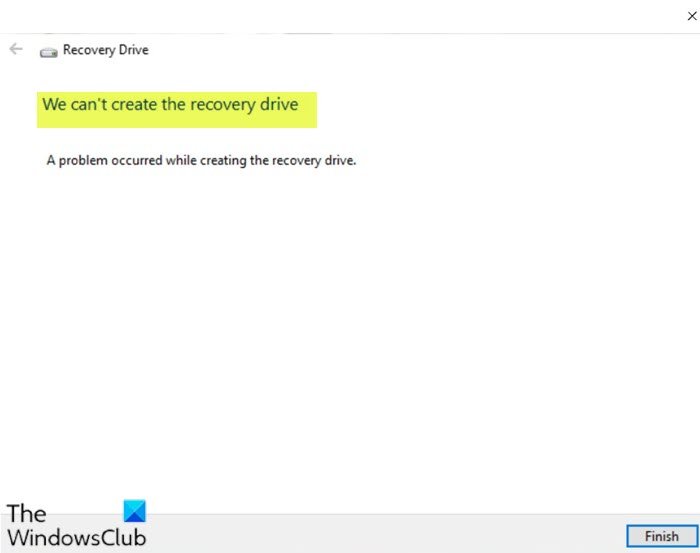
You might encounter the issue due to one or more (but not limited to) of the following known causes;
The option ‘back up system files to the recovery drive’ requires at least 16GB USB flash drive.USB flash drive is with corruption problems that Windows can’t format everything on the drive to create a recovery drive.Windows file system has been corrupted.Some Microsoft Office services are interfering with the recovery processRecovery drive wizard glitch
We can’t create the Recovery drive, A problem occurred while creating the recovery drive
Since the accompanying error message states A problem occurred while creating the recovery drive, you may try the following suggestions and see if that helps to resolve the issue. Let’s take a look at the description of the process involved concerning each of the listed solutions.
1] Check & repair USB drive errors
In the case that your flash drive has been using for several years and was formatted many times, it’s necessary to check its health state and try to fix the bad sectors on it if found any. Do the following:
Press Windows key + R.In the Run dialog box, type cmd and then press CTRL + SHIFT + ENTER to open Command Prompt in admin/elevated mode.In the command prompt window, type the command below and hit Enter. Here you should replace E with your drive letter.
Afterward, try creating the recovery drive again and see if the We can’t create the recovery drive issue persists. If so, continue with the next solution.
2] Format the USB flash drive
This potential solution to the issue requires you to perform a full format on the USB stick before running RecoveryDrive.exe. Do the following:
Plug-in your flash drive and open File Explorer.Right-click on the flash drive that you plan on using as a recovery drive and choose Format…Preserve the same File system and Allocation unit size, but make sure to uncheck the box associated with Quick Format.Click Start and wait for the process to complete successfully.Click Yes to confirm the formatting of the flash drive.
Once the format is complete, try creating the recovery drive again. If the issue persists, try the next solution.
3] Prepare another USB flash drive
If you got a spare USB drive lying around, go ahead replacing the current one and start afresh to create a recovery drive in the same way. If its capacity is bigger, better!
4] Use a third-party solution to create the recovery drive
This solution requires you to use a third-party imaging software to create the equivalent of a Windows-created recovery drive.
5] Run the RecoveryDrive.exe utility in two steps without exiting the program
This solution is a simple hack. Do the following:
Press Windows key + R to invoke the Run dialog.In the Run dialog box, type recoverydrive.exe and hit Enter to open Recovery Media Creator tool.In the first window of Recovery Drive, uncheck the box associated with Back up system files to the recovery drive.Click Next.Select the drive that will be used as a recovery drive, then click the Next button again.In the next screen, click the Create button to begin the recovery drive creation process.When you see the We can’t create the recovery drive error, don’t click the Finish button. Instead, press Alt + B to gradually retrace the steps until you arrive at the very start.Now, check the Backup system files to the recovery drive option and go through the steps again.
This time, you should be able to complete the recovery drive creation process without encountering any issue.
6] Disable cvhsvc, sftvsa, and sftlist services related to Microsoft Office
This solution requires you to disable a series of services related to Microsoft Word and Microsoft Excel. Although there’s no official explanation of why this fix is effective, users speculate that it probably has something to do with an interference between the Application Virtualization process and Volume Shadow Copies. Here are the processes that might be involved in the alleged interference:
Client Virtualization Handler (cvhsvc)Application Virtualization Service Agent (sftvsa)Application Virtualization Client (sftlist)
Do the following:
Press Windows key + R to invoke the Run dialog.In the Run dialog box, type msconfig and hit Enter to open System Configuration window.Inside the System Configuration window, click on the Services tab.Then, proceed to uncheck the Service boxes associated with Application Virtualization Client, Application Virtualization Service Agent, and Client Virtualization Handler.Once the services have been disabled, click Apply to save the changes.Restart your computer.
On boot, try creating the recovery drive again and see if the We can’t create the recovery drive error is resolved.
If this method was successful, return to the System Configuration window as shown above and re-enable the processes you previously disabled. Hope something here helps you.
