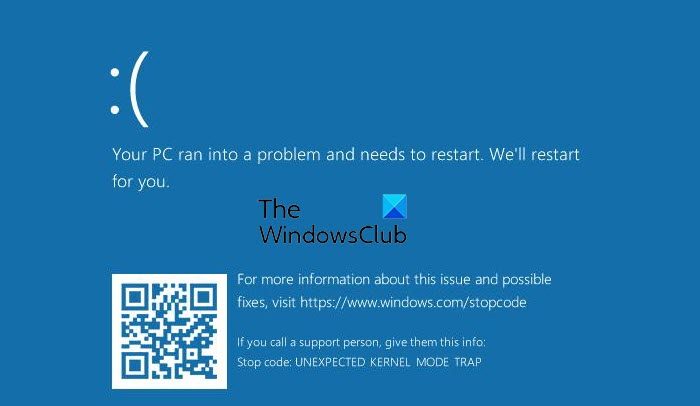
Fix UNEXPECTED KERNEL MODE TRAP BSOD
You need to track down the probable causes for this error. Issues like dusty components, faulty hardware or software, corrupt system files, driver incompatibility, etc., maybe a reason for the occurrence of this Blue Screen on your Windows 11/10/8/7 computer.
1] Check newly installed hardware or software
If you have installed new Hardware or Software to your computer, that might be a cause of this BSOD error. The main reason behind this can be the incompatibility between the components of the computer. In case of the software, it may not be officially supported for Windows 10 and might be running in compatibility mode. Whereas in the case of hardware, it might not be compatible with the other hardware, or in some cases, the hardware might be so old that the drivers of that hardware component might not support the operating system itself. You may also disconnect all the external devices like printers, scanners, USB drives, etc., and then restart your computer. Then add the devices one after the other and see if any of these give you the Blue Screen. You can also perform a Clean Boot and try fixing this error manually.
2] Update device drivers
There is a strong possibility that the drivers installed on your computer are not compatible with Windows 10. Updating your drivers is not difficult. Just head to the Device Manager to do the needful. Or, you can just head to the Downloads section of your manufacturer’s website. Get all the drivers that are newer than what is installed on your computer. Personally, I would recommend you update your Graphics Drivers, Network Drivers, Chipset Drivers, and Input Devices’ drivers.
3] Use the Memory Diagnostic Tool to check RAM
Using the Memory Diagnostic Tool is pretty straightforward. First of all, Save all your important work. Then, hit WINKEY + R to open the Run window. Now, type in the command mdsched.exe in the Run window. Reboot your computer. After a reboot, perform a basic scan or go for the ‘Advanced’ options like ‘Test mix’ or ‘Pass count’. Hit F10 to start the test. Alternatively, you can also try to find & fix Memory Leaks.
4] Disable Memory caching in BIOS
To disable memory caching in the BIOS, start by opening the BIOS Setup Screen.
Then navigate to Advanced > Cache Memory and Disable it. And Hit F10 key to save the changes and reboot your computer.
5] Use System File Checker
Start by pressing WINKEY + X button combo or right-click on the Start button and click on Command Prompt (Admin) or just search for cmd in the Cortana search box, right-click on the Command Prompt icon and click on Run as Administrator. Click on Yes for the UAC or User Account Control prompt that you get. Then, the Command Prompt window will finally be open. Now, type in the following command to run System File Checker and then hit Enter. Restart your system after the scan is completed. You can also use our freeware FixWin to Run the System File Checker utility with a click.
6] Clean the dust on the hardware manually
You can also try cleaning the dust off the components of the computer. I would recommend using a small blower or rubbing the components with a soft cloth. Make sure that you do not damage any parts with moisture or cause harm to any circuits while carrying out this task.
Make sure that you do this very carefully. Because even a slight bruise can cause your computer to stop working and may cause you financial expenses. If you are not confident, you can ask a qualified technician to do this for you. All the Best!

