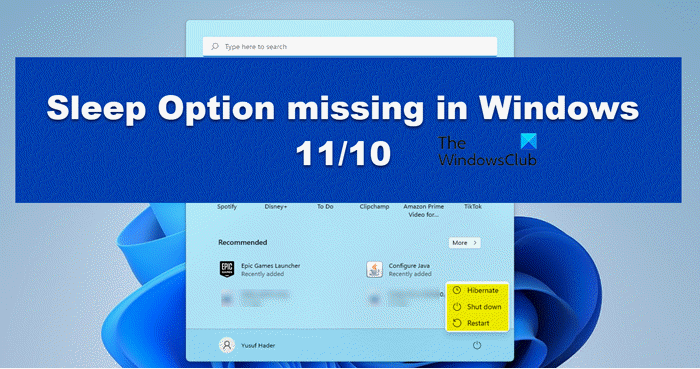
Why is there no Sleep option in Windows 11?
There is a Sleep option in Windows 11, but you may not be able to see the option in the Start Menu or other places due to misconfiguration. In this article, we have mentioned all the solutions you need to get the configuration right and the Sleep option back.
Fix Sleep option missing in Windows 11/10
Is the Sleep option missing on your computer? Check the following solutions to resolve the issue.
Restore or Enable missing Sleep option
1] Check if Sleep is disabled in Control Panel
First up, we need to check if the Sleep option is enabled in Control Panel. We are going to check the configuration of Power Options and see if there is some misconfiguration. Follow the given steps to do the same. Now, check if you can the Sleep in the Power Option. Read: Hibernate option is missing in Control Panel in Windows
2] Restore Power Plans
Another method to resolve any misconfiguration is by restoring the Power Plan settings. All you have to do is run a command and your issue will be resolved. So, open Command Prompt as an administrator and run the following command. Once you have successfully executed the command, restart your system and see if the issue persists.
3] Edit Group Policy
Now, we are going to edit Group Policy and make sure that the option to disable the Sleep is not turned on. One thing you should know is that Group Policy is unavailable on Windows 11/10 Home, so, check our guide and see how to enable Group Policy Editor on Windows Home. Now, open Group Policy Editor by searching it out of the Start Menu. Now, navigate to the following location. Computer Configuration > Administrative Templates > Windows Components > File Explorer Look for Show sleep in the power options menu, double-click on it to open, select Enable, and click Apply > Ok. Restart your system and check if the issue persists. If you are still not able to find the Sleep option in the Power menu, open Group Policy Editor and go to the following location: Computer Configuration > Administrative Template > System > Power Management > Sleep Settings. Look for Allow standby states (S1-S3) when sleeping (plugged-in) and Enable it.
4] Update Windows and Drivers
If the Sleep option is greyed out, chances are either the Operating System or drivers are not up-to-date. You should first check for updates and install them if available. Then, update all your drivers. The following are some of the methods to update drivers on Windows computers.
Check for Windows Optional and Driver updates.Download the latest version of all the drivers from their respective manufacturer’s websites.
5] Run Power Troubleshooter
Last but not least, we are going to run the Power Troubleshooter. It is a built-in utility that will scan and repair the cause. Follow the given steps to run Power Troubleshooter. Windows 11
Open Settings.Go to System > Troubleshoot > Other troubleshooters.Click Run associated with Power.
Windows 10
Open Settings.Go to Update & Security > Troubleshoot > Additional troubleshooter.Select Power, and click Run the troubleshooter.
Hopefully, this will do the job for you.
Where is Sleep option in Windows 11?
Sleep can be accessed by the Power button, just click on the button and you will see the Sleep option there. Or, hit Alt + F4, and from the drop-down menu, select Sleep. However, if you want to access Sleep settings, you need to use the Windows Settings. Just hit Win + I to open Settings, go to System > Power & battery. Now, expand Sleep and Screen and make amendments. Read Next:
How to change Sleep settings on WindowsHow to set up Windows Sleep Timer Shutdown.

